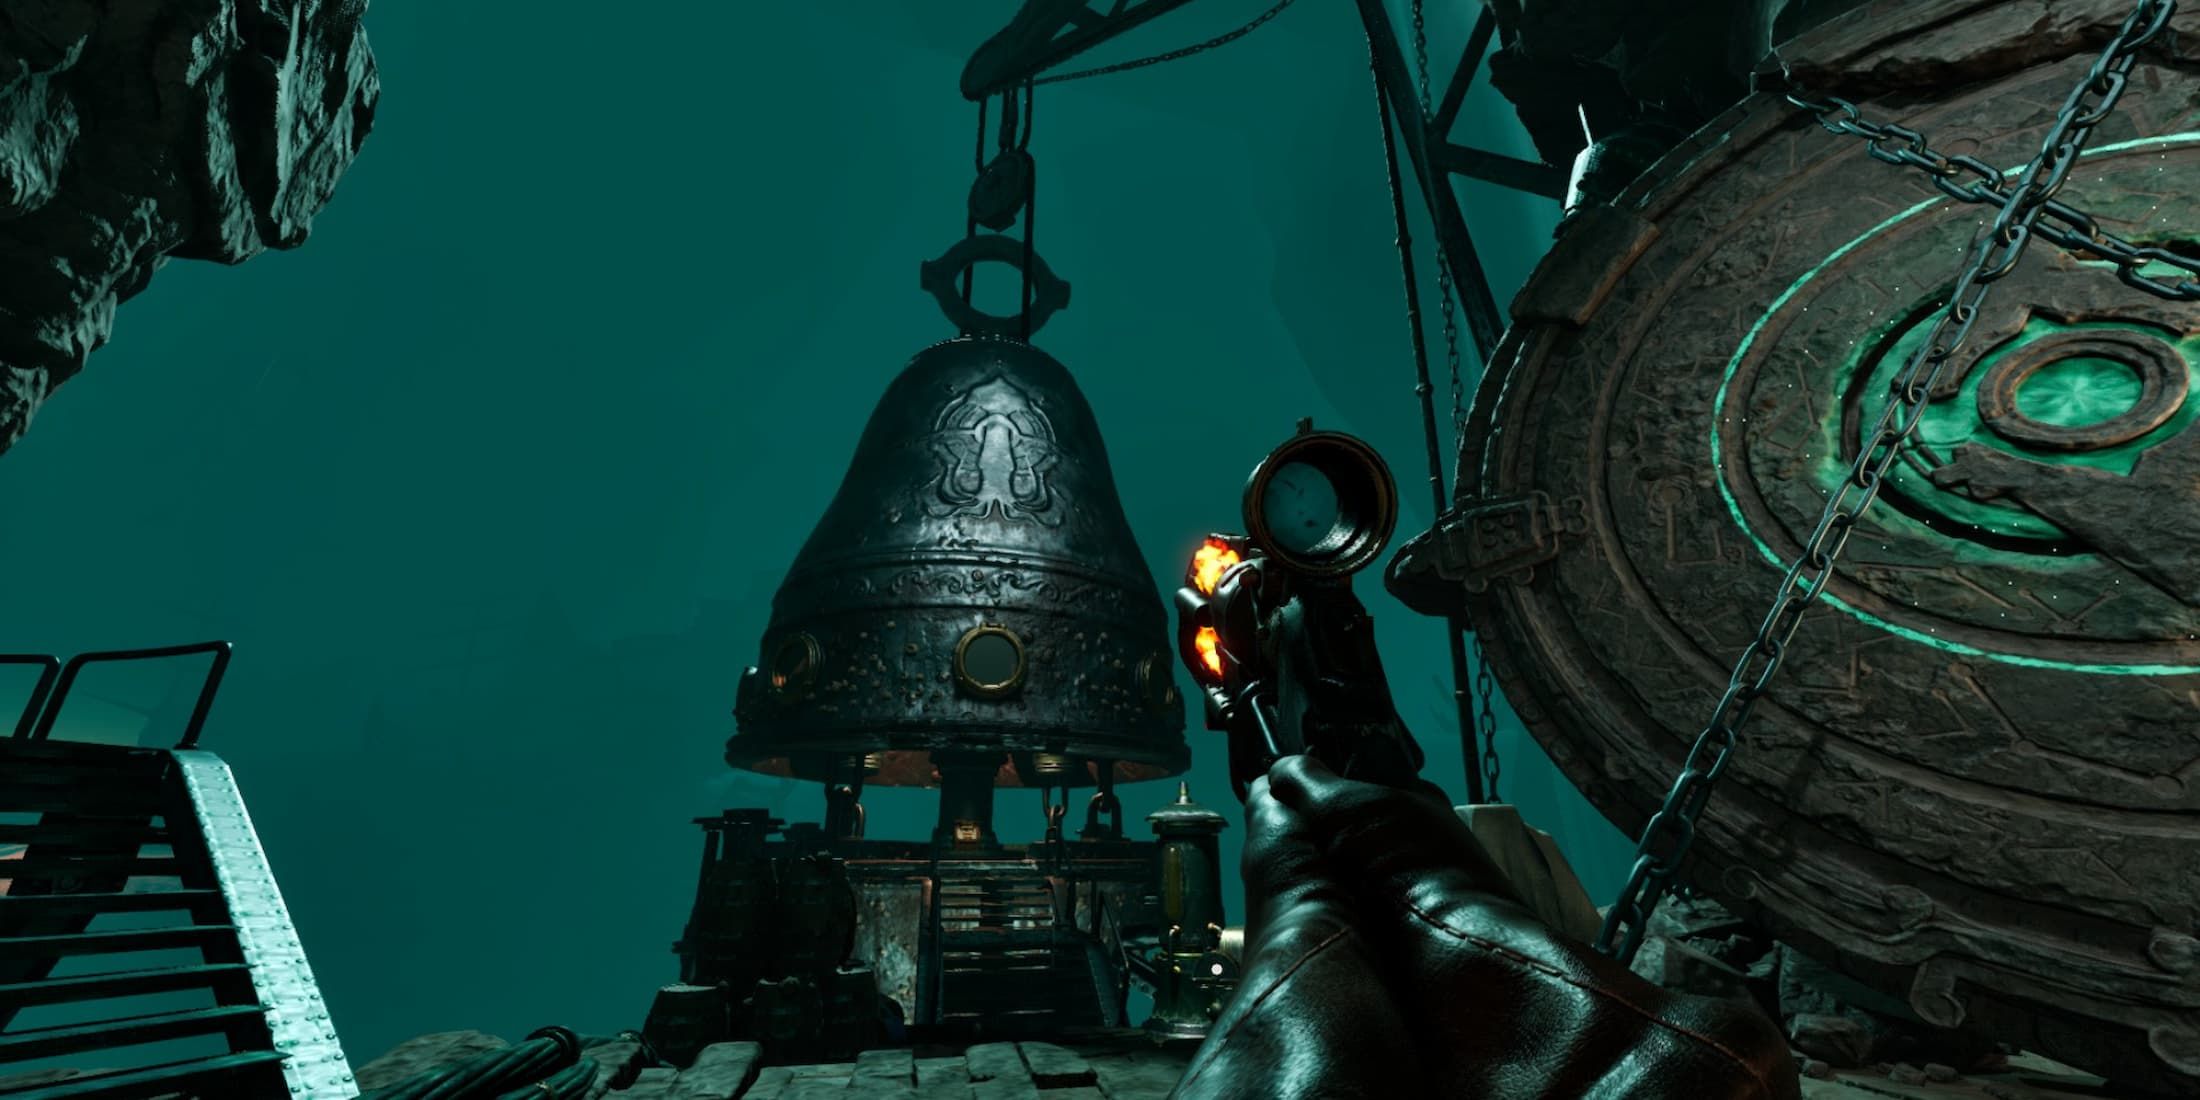
Players can expect more than just danger and adventure in the briney depths of Abyssus. The game has a ton of stuff to unlock via challenges, ranging from weapons, mods, abilities, and cosmetics. The latter includes options for player customization, and if you want to expand your suit color options, then you can try finding all the hidden Surge Fissures around the lobby base camp.
Surge Fissures aren’t as big or as imposing as they sound. These are small, green orbs that players will find throughout Abyssus, and if you break all the ones in an area, you’ll earn something special for your effort. In this guide, we’ll be showing you all the Surge Fissures in the lobby area of Abyssus.
Abyssus: Lobby Surge Fissure Locations
There are eight Surge Fissures in the Abyssus lobby area, and while most of them can be seen fairly easily, others are either hidden in hard-to-reach areas, or simply placed so far away that they become very easy to miss. With that said, expect to do a little bit of platforming as you explore your base camp.
First and Second Lobby Surge Fissure
The first two are along the cliff wall by the Diving Bell and Soul Wheel. Go to the bell, and look toward the nearby cliff wall. One Surge Fissure is nearby, while another is all the way at the far end. Shoot both, then move on.
Third Lobby Surge Fissure
Next, head to the open doorway next to the Soul Wheel, then look above. You’ll find another Surge Fissure under a platform near an entrance in the wall. Shoot it, then go back outside.
Fourth Lobby Surge Fissure
Head toward the pier at the back of the camp, then follow the path on the far right side. Jump to the little outcrop past the wooden deck, then turn the corner to find the fourth lobby Surge Fissure.
Fifth Lobby Surge Fissure
Return to the pier, then look for a big rock in the water, near the wrecked ships. If you look closely, you’ll find the fifth Surge Fissure there.
Secret Waterfall Entrance and Sixth Lobby Surge Fissure
After shooting the fifth fissure, turn your attention to the nearby waterfall. Follow the rock path to it, and jump through the water. There’s a cave there that leads to a room. The sixth lobby Surge Fissure is in one of the corners of this room.
Seventh and Eighth Surge Fissures
For the next two Surge Fissures, you’ll need to do a bit of platforming. Return to the path leading waterfall’s secret entrance, then look for an entrance that leads back to the room containing the second Surge Fissure. Hit the switch near the ledge to activate a jump pad below, then start making your way to the door in the wall mentioned earlier.
To reach the door, you need to jump on the pillars and platforms along the edges of the room. Once you make it through the door, keep moving forward, then when you drop down a small ledge, turn around to find the seventh fissure.
The final fissure is in a campsite above the lobby. From the seventh fissure, keep following the path until you see another cave opening across the gap above the main camp’s tents. Double jump and dash over the gap, then follow the path until you reach the top. The eighth and final fissure is near the rock wall.
All Lobby Fissures Reward in Abyssus
After you find and shoot all the lobby fissures, you’ll automatically unlock Tinker, a color scheme for your suit that’s predominantly yellow. You can change your suit’s appearance by interacting with the wardrobe next to the weapons bench in the lobby’s main tent.
Much like in other Roguelites and similar games, players will need to unlock these cosmetic options by completing challenges. There are more helmet, suit, and color options to find in Abyssus, and you can get them all by completing difficult encounters and finding more secrets.


